

Connecting Any Collection of LEDs to Battery Power
The quickest easiest way to connect these LED kits to power is a 9V battery, with
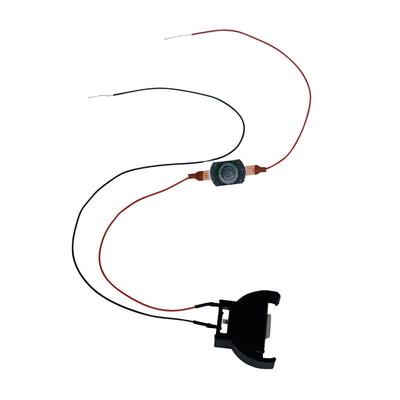
a battery snap / switch. As you can see from this photo, the battery snap we sell is designed to snap onto the leads on the terminal end of any standard 9V battery.

The battery snap has two leads, a red "positive" wire and a black "negative" wire. Each of the three LEDs in the fire and welding kit also come with a red positive wire and a black negative wire. All you need to do is twist the 3 red wires from the LED kit together with the red wire from the battery strap. Next, twist the 3 black wires from the LED kit with the black wire coming from the battery strap.
Instant flickering light!
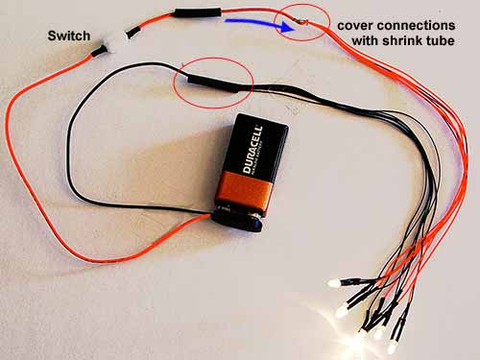
We like to use some electrical tape on the twisted wires just to hold things securely and ensure the wires to not touch together.
With a 9V Duracel, our welding pack flashed nice and bright for 36 hours, then you need a fresh battery. With this approach, you have an instant hook up solution for short term use.
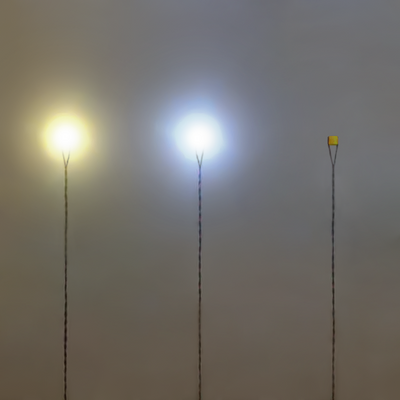
So I place the led's in a shed to make it look like I'm welding something to a train, what do I wire the led's to???
You have quite a few choices here.
- You could wire the LEDs to a 12V wall adapter. We sell a 12V regulated adapter
- you can use a regulated 12V adapter that you have around the house already
- you can buy a used discount transformer at a train swap meet or train shop (they run about $5-15)
- you can run the lights directly off your train power, hooking them to power supply lines running underneath your layout or hook them directly to the nearby track.
To use our 12V wall adapter Gather up your red wires from your LEDs, twist them to the stripped end of red lead on the power jack.
Gather up your black wires and twist them to the black stripped wire on the power jack. Protect your connections from each other with wire nuts or electrical tape.
Here is a great suggestion for wiring a bunch of houses and structures: Take a long section of HO track, Connected a + and - wire on the power jack to the track section. Then put the HO track UNDERNEATH the layout. Now you have 2 rails that act as "stripped wires" running underneath every building or structure you want power in. When you are ready to hook the LED you have placed into your building to power, drill down through your Layout substrate and connect to the HO track you have placed underneath.
Bread Boards work great for connecting a lot of lights in one spot, such as in an airport scene.
Do not worry about connecting the LEDs the "wrong way" with the bridge rectified LEDs there is no "wrong way" thanks to the bridge. They will always light , forward or reverse. For the DC LEDs, if you connect them backwards they will not light, but you can go ahead and connect them the other way, no harm done.