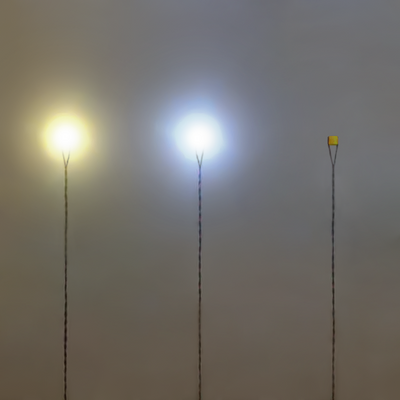
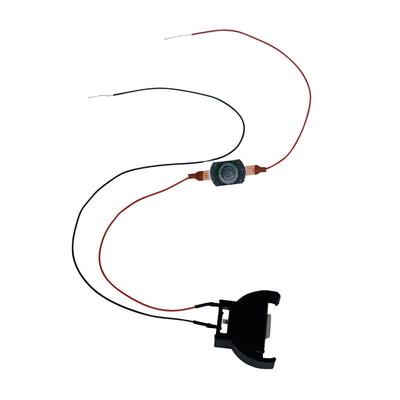


A Few Tips for Working With LEDs
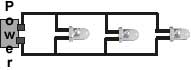
parallel wiring diagram for hooking many LEDs to power
Power Considerations
Our LEDs draw 20 milliamps each so
- with a plug in power supply of 1 Amp you can run 50 LEDs.
- with a 3 volt coin type battery you can run up to 10.
- with a 9 volt battery such as a Duracell you can run 50 LEDs for 4-5 hours.
- train transformers are often 5 amps, so LEDs will draw a small percent of the total available
Attaching to your Project
Don't use a hot glue as it is too hot for LEDs.
- Duct Tape
- Superglue
- Goop
- common white glue
are all good choices for holding your LEDs in place
Fitting into tight spaces
The stalk of the LED, up next to the bulb can be bent 90 degrees  for gluing to the ceiling (to have the light shine down) or for taping in behind a lens. Use a pair of pliers to hold the bulb stable while bending the stalk.
Making holes if needed
Drilling die cast metal takes a very good quality drill bit. Get a set of Cobalt bits from a quality hardware store for drilling die cast metal. Here are some drill bits we have used for various projects:
| Drill Bit Size === English | |||
| LED Size | 1.8mm | 3mm | 5mm |
| Only tip of LED showing | 5/64 | 7/64 | 3/16 |
| Whole LED showing | 5/32 | 1/8 | 13/64 |
![]() notes on 1.8mm LEDs...
notes on 1.8mm LEDs...
the base of the LED is square, which makes it a little tricky for round holes. When we drill the 5/32 hole we bend the stalk of the LED 90 degrees and tape it from the backside. This will keep the LED firmly in place.
Increase the light spread
Our LEDs have a fairly wide spread, if you need more you can sand the top rounded part of the LED flat.
![]()
Do not sand down to the metal you can see inside the bulb.
Decrease the light
Lights too bright? The easiest way we have found is to add a bit of similar colored paint. Acrylics take the brightness down approx 50% while enamels cut the brightness 25%.
To paint an LED,
- thin a little of your chosen paint down with thinner or water. You want to have your paint flow easily on the LED surface.
- Let the paint dry and light the LED up, lightly sand any dark/thick patches with fine sandpaper or fine steel wool.
- Several very light paint coats are better to achieve the desired effect than 1 heavy coat.
- Standard paint thinners: acetone, etc. will not "dissolve" or otherwise harm the LED. We soaked an LED overnight in acetone. No effect.
We have tried different resistors and found them to make non-linear difference to the brightness.
Have an installation question not covered here? Contact Us!
We cannot cover all the different ways to install our LED's in everything out there: engines, cabooses, coaches, cars, trucks, signal lights, die cast, resin models, dioramas, toy theaters, buildings, room boxes, guitars, Hollywood sets, Broadway shows, but if you have a question on your particular use, we are happy to help!